Do you want to record your voice at home and make it sound like it was recorded in a professional studio?
This post will teach you how to make a professionally sounding voice recordings at home. Keep reading to learn 5 essential voice recording tips for beginners.
Key takeaways
- Choose a quiet room with minimal echo and use household items for soundproofing.
- Position the microphone about 6 inches from your mouth for clear, detailed audio.
- Invest in a good condenser microphone, audio interface, balanced cables, pop filter, and DAW.
- Use a pop filter to reduce plosives and protect the microphone from saliva.
- Utilize DAWs for editing and enhancing your recordings for professional quality.

Why you must make your voice recording sound professional?
Recording the voice clearly and with professional quality is the key ingredient for the success of many media projects, including podcasts, voice over gigs, guided meditations, and more.
Whether you’re a musician recording your own album, a podcaster on a budget, or a voice-over artist who’s just starting, getting pro-quality voice recordings without noise is essential.
But you may not have the budget to hire a professional recording studio. Luckily, with today’s technology, it’s easy to get pro-quality voice recordings at home.
Here are some tips how to record your voice professionally at home. Watch the video for a quick overview or read the details tips below.
1. Set Up A Proper Recording Space
To make high-quality recordings of your voice, you need to find the proper recording space in your home.
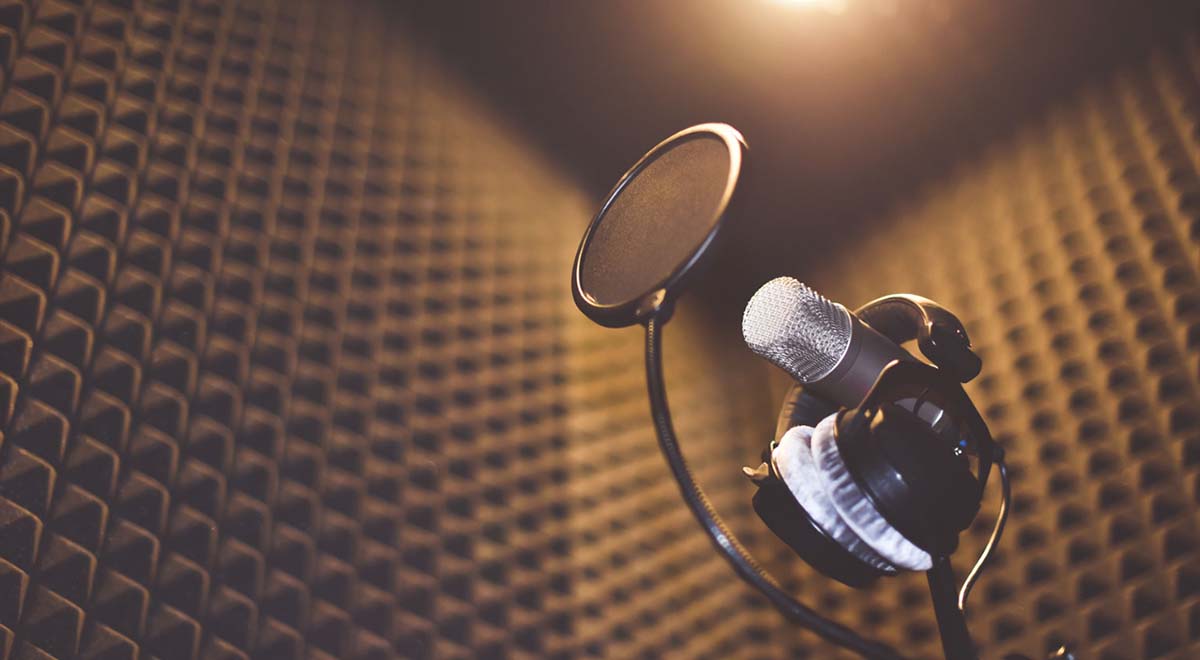
First, if you have a choice, pick the room with the least of outside noise. This will help you to record your voice clearly from the get go and will reduce the time needed for editing later on.
Then, consider the acoustics of the room. Find a room that has minimal echo and reverberation. A small room with hard surfaces (like a bathroom) will have more echo than a larger room with softer surfaces (like a bedroom).
There is a common misconception that you need to spend hundreds of dollars on acoustic treatments. In fact, many common household items are quite good at reducing the unwanted sound reflections.
Here are some things you can try. Remember, the goal is to make the room as “dead” (that is, without any echo) as possible.
Windows are often the biggest culprit when it comes to reflections, so start by closing the blinds or curtains. If that doesn’t help, try hanging heavy blankets or towels over the windows.
Another hot spot for reflections is the walls.
If your walls are bare, they’re likely to reflect most of the sound waves coming their way. Try hanging some blankets to help reducing the reflections.
Finally, thick carpets can reduce reverberation and echoes bouncing off the floor.
Finally, soft furniture and things like pillows and comforters do magic when it comes to acoustic treatment!
2. Pay attention to how you place the microphone
When recording voice, the ideal microphone placement is about 6 inches from your mouth.
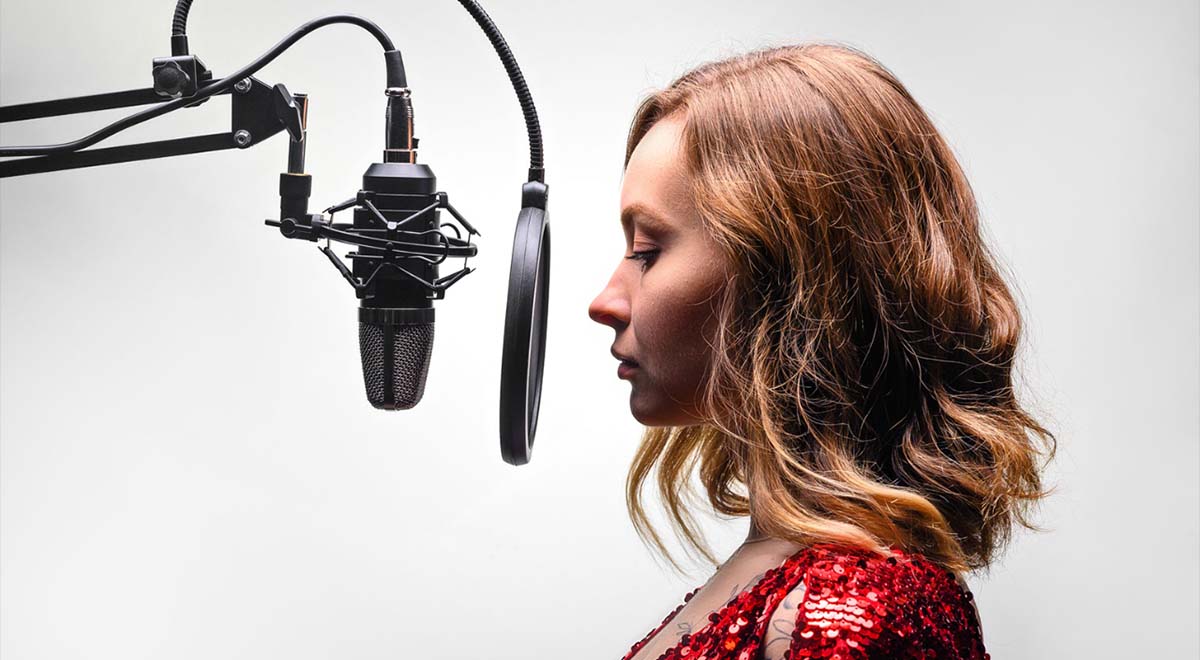
This ensures that the microphone captures the full frequency range of your voice. Placing it that close helps the microphone to pick up the nuanced details of your speech.
The further you place the microphone, the muddier your recording will get, as the mic will inevitably start picking up the ambient noise and the echo of the room. This can get especially bad when recording in an acoustically untreated space.
On the other hand, when microphone is placed too close to the audio source, it can cause problems with plosives (hard “p” and “b” sounds that can create a popping effect).
Placing a pop filter between the microphone your your face can help to mitigate this issue. More about pop filters below!
3. Check you have the right gear
Even though you’re recording at home, you still need to get the proper tools to make quality voice recordings.
Here’s a rundown of the essential gear to help you make your voice recording sound professional!
1. Microphone
There are tons of vocal microphones on the market. We generally recommend condensers over dynamics mics for recording the voice and vocals.
Why?
For starters, condenser microphones have a wider frequency response, meaning they can capture all the beautiful details of your voice. You want to make sure that every little bit is captured, right?
In addition, condensers have a higher sensitivity than other types of microphones.
What does that mean? They can pick up even the most gentle whispers. This is ideal for capturing delicate voice performances.
2. Audio interface
If you’ve ever tried to record your voice using the built-in microphone on your computer, you know the result recording will sound amateurish at best.
The sound quality will be poor and the background noise will drown your voice.
That’s why you need a separate audio interface.
An audio interface acts as a bridge between your microphone and your computer. It converts the analog signal from your mic into a digital signal that can be recorded and processed by the computer.
The audio interface can provide much better sound quality compared to recording directly into your computer’s built-in microphone input. A dedicated audio interface will also have a better preamps (compared to most computer sound cards), which means it will have enough power to drive the microphone and will make your voice sound louder and clearer.
Speaking of power, make sure the audio interface has the phantom power, which is required for condenser microphones.
Can I use a USB microphone for voice recording?
Sure, your certainly can. USB microphones are convenient because they are “plug-and-play” and do not require a separate audio interface. A great solution if you’re recording into your laptop on the go.
Nevertheless, if you want to set your microphone further from a computer (to reduce noise, for example), long USB cables do not offer much protection against electromagnetic interference.
Which brings us to the next point, the cables.
3. Balanced cables
For voice recordings we recommend using the balanced audio cables with three conductors: two signal wires and a ground wire.
The signal wires are twisted together to cancel out any electromagnetic interference (EMI). This makes balanced cables ideal for longer cable runs, as they’re less likely to pick up the interference from other devices.
XLR cables are the most common type of balanced cable. They have three pins that carry the signal, and they’re shielded to protect against interference.
4. Pop filter
There are many reasons why you should use a pop filter when recording human voice.
The first reason is to reduce plosives. Plosives are the little explosions of air that occur when you pronounce certain sounds, like “p” and “b”.
These can cause your microphone to record a harsh popping sound, which will make your recording sound the opposite of professional. Untreated consonant sounds is the number one give away of the amateur voice artist!
Another reason to use a pop filter is to protect your microphone from saliva. When you speak loudly or passionately, your may accidentally spit onto the microphone.
This saliva can damage your microphone over time and affect its performance. A pop filter will act as a barrier between your mouth and the microphone, protecting it from the damage.
5. Recording software (DAW)
Finally, you need a software to allow you computer capture and process your voice.
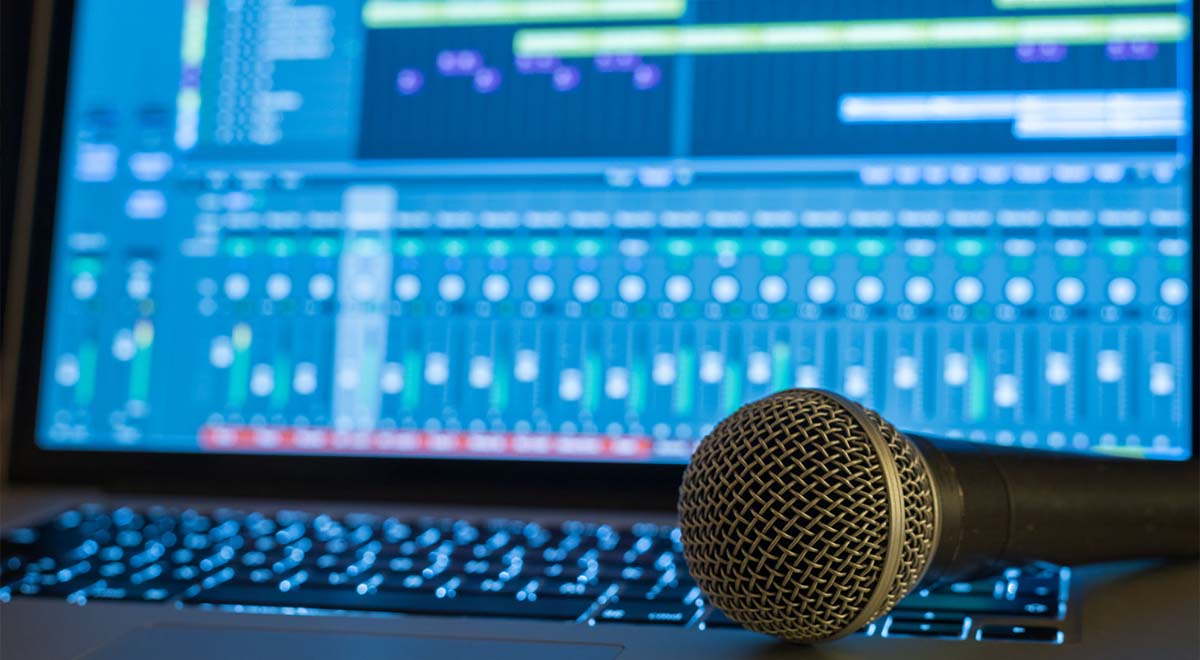
A digital audio workstation (DAW) offers ability to record, edit, process, and mix your voice to give it the polished, professional sound.
For example, to use an equalizer (EQ) to adjust the sound of your voice.
An EQ can help you boost or cut certain frequencies, making your voice sound fuller or thinner as needed.
Compression will help to even out the levels of your voice over the entire recording.
Overall, the proper DAW gives you much more control over your recordings compared to a simple voice recorder build into the operating system of your computer.
With DAW (and a little learning), you can get the perfect, professional sound for your recorded voice.
Related: 5 Tools You Need To Start Recording Voice For Guided Meditations
If you have no budget left at this point, Audacity is a free and easy to use open source audio recording and editing software. It is compatible with Windows, Mac, and other operating systems. The base version can be extended with free or paid audio and voice processing plugins as needed.
Other budget options include: Reaper, Studio 1, and Logic X Pro. For top of the line professional audio edition check out Adobe’s Audition.
How to record your voice like a pro!
Making quality voice recordings at home is certainly possible. With a little practice, you can get great results quite close to the recordings made at the professional studios.
We hope this tutorial will help you to record your voice like a professional!
Want to make your voice recording sound even better?
Use DAW to mix your recorded voice with background music for voice over to make voice artist demos or add background music to your podcasts.
Questions or comments?
Feel free to post your questions in the comments section below. Post a comment
Download 14,000+ Royalty Free Music Tracks And Sound FX
Unlimited download | Lifetime license | Commercial use